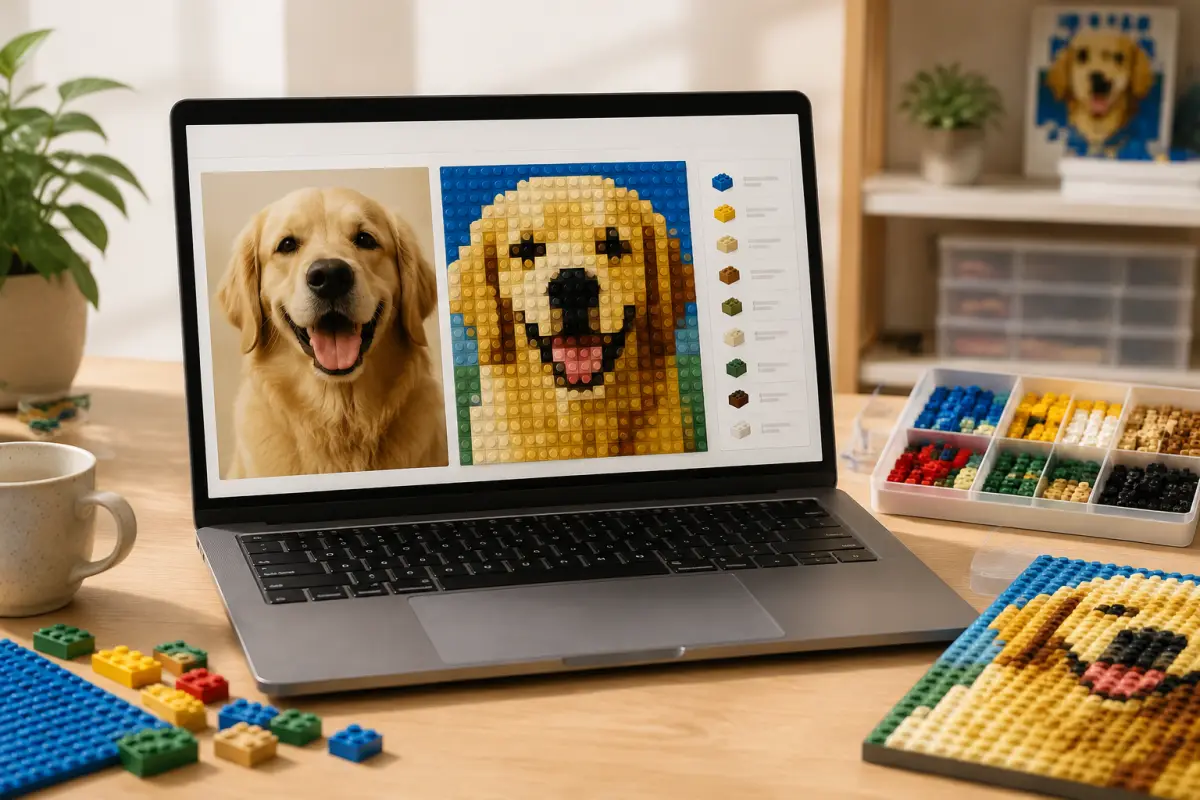
Photo to LEGO Mosaic Pattern: How to Create a Buildable Design From Any Image
Turning a photo into a LEGO mosaic pattern is more than applying a pixel effect. A useful pattern must preserve the subject at a limited grid size, map the image to a manageable color palette, show the total number of cells, and export at a resolution you can actually follow while building. Brick Mosaic Maker handles those steps in the browser and gives you a visual pattern plus a color-by-color parts list.
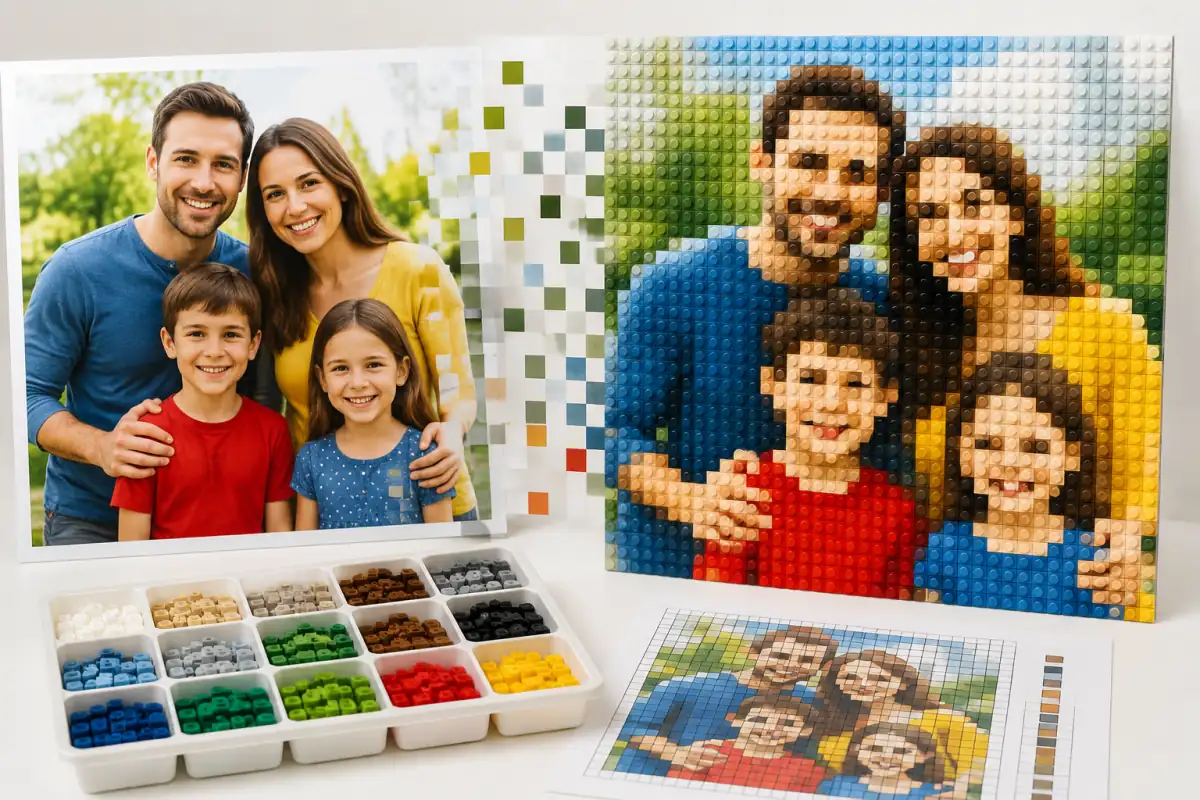
What the photo-to-mosaic tool produces
The input is a JPG, PNG, or WEBP image from your device. The output is a square-cell mosaic preview in one of the available palettes, accompanied by the grid dimensions, total piece count, and exact cell count for each generated color. You can download the pattern as a PNG or use the print option to print it or save it as a PDF.
Image conversion happens locally in the browser. The site does not require an account for this workflow. Recent mosaic records are also stored in that browser, not in an online account, so download any pattern you want to keep permanently.
Before you begin: choose an input that will survive a grid
Almost any supported image can be converted, but the source photo determines whether the pattern remains recognizable. A grid cannot preserve every strand of hair, leaf, texture, or small line. Choose the original image when possible and make the important subject large enough to occupy a meaningful part of the frame.
Good input characteristics
- A clearly defined subject with visible separation from the background.
- Good light and contrast, especially around faces, logos, or silhouettes.
- A composition that can be cropped without removing important details.
- Large shapes and color areas rather than many tiny objects.
The current tool accepts JPEG, PNG, and WEBP files. Its browser validation rejects images wider or taller than 6,000 pixels and images above 25 million pixels, so resize an unusually large camera file before selecting it.
Step-by-step: create a buildable mosaic pattern
1. Upload and inspect the source photo
Open the Mosaic Maker on the site homepage and choose a supported image from your device. The source preview appears in the workbench. Use Replace if you want to test another file, or Remove to clear it. Check whether the main subject is sharp and large enough before adjusting the grid.
2. Choose the grid dimensions
Select one of the available presets: 16 x 16, 48 x 48, 64 x 64, 96 x 96, 64 x 48 landscape, or 48 x 64 portrait. You can also enter a custom width and height from 8 to 128 cells. The number of cells is the width multiplied by the height, so grid size directly controls the scale of a complete build.
| Grid | Total cells | Practical use |
|---|---|---|
| 16 x 16 | 256 | Test bold silhouettes, simple icons, or the basic crop. |
| 48 x 48 | 2,304 | Start with this preset for a square portrait or balanced general photo. |
| 64 x 48 | 3,072 | Keep a landscape composition without forcing it into a square. |
| 48 x 64 | 3,072 | Use a portrait-shaped pattern for a vertical subject. |
| 96 x 96 | 9,216 | Preserve more detail when the larger build is acceptable. |
These totals count grid cells in a complete pattern. Confirm the physical piece size, base layout, mounting method, and any gaps required by your build before ordering parts.
3. Decide between Crop and Fit
Choose Crop when the subject matters more than the edges of the photo. Drag the crop frame to position the important area, use crop zoom from 100% to 300%, and reset to center if needed. This usually gives faces and central objects more room in the final grid.
Choose Fit when every part of the source image must remain visible. Fit preserves the full image inside the selected grid and may add white space where the image and grid have different aspect ratios. For a wide photograph, the 64 x 48 landscape preset may reduce that unused space.
4. Select a palette
Brick Mosaic Maker currently provides three palette options. Classic brick colors offers the widest mix of strong and neutral colors. Soft colors reduces the image to a gentler set of shades. Grayscale removes hue and focuses on light, shadow, and shape. The displayed color names are pattern references; compare the generated list with the real parts available to you before purchasing.
5. Adjust brightness
The brightness control runs from 70% to 130% in 5% steps, with 100% preserving the source level. Lower brightness when pale areas merge together or when the result feels washed out. Raise it when important shadow detail becomes a single dark block. Change one setting at a time, generate again, and compare the preview.
6. Generate and review the pattern
Select Generate mosaic. The result panel shows the selected grid, the total number of cells, and a color parts list. Inspect the pattern at normal size and use the preview zoom control, which runs from 100% to 400%, to check individual cells. Look first at the outline of the subject, then at high-value details such as eyes, lettering, and narrow edges.
If the result is not recognizable, do not start by changing every setting. Try a tighter crop first. If the subject still lacks structure, increase the grid size. If the structure is clear but the tones are poor, adjust brightness or try another palette.
7. Export a guide you can use
Download PNG saves the generated pattern. The export presets include Web at 1,920 pixels, HD at 3,840 pixels, Print, and a custom pixel width. Print accepts a physical width from 5 to 60 cm and offers 150, 300, or 600 DPI. Custom export width accepts 256 to 8,000 pixels. The tool calculates the matching height from the pattern aspect ratio.
Use Web for a lightweight screen reference, HD when you need to zoom farther, and Print when physical dimensions matter. Print / Save PDF opens the browser print workflow for the pattern and parts list. Keep the exported file with your project because browser history is local and is not a cloud backup.
Input and output examples
Example 1: square family portrait
Input: A well-lit family photo with four faces near the center and a background that is less important than the people.
Settings to try: Start at 48 x 48, choose Crop, position the crop around the group, keep brightness at 100%, and begin with Classic brick colors.
Output to check: The pattern contains 2,304 cells. Confirm that each face has a distinct outline at preview scale and inspect the generated parts list for exact quantities by color. If facial features merge, move to 64 x 64 or tighten the crop before changing the palette.
Example 2: wide travel photo
Input: A landscape image where both the main subject and the surrounding scene are important.
Settings to try: Choose 64 x 48 landscape and Fit so the full frame remains visible. Start at 100% brightness. Compare Classic and Soft palettes only after confirming that the overall scene is readable.
Output to check: The pattern contains 3,072 cells. Look for white space caused by a different input aspect ratio. If it takes too much of the grid, switch to Crop and position the frame manually, or prepare the source image to a closer landscape ratio.
Example 3: high-contrast symbol or logo
Input: A simple mark with large shapes, a plain background, and no tiny text.
Settings to try: Test 16 x 16 first, use Crop if the mark has excess margins, and compare Grayscale with Classic brick colors.
Output to check: A 16 x 16 pattern contains 256 cells. Examine corners, holes, and one-cell-wide lines. Increase the grid only when those defining shapes disappear; extra resolution is unnecessary when the smaller pattern is already clear.
How to read the output before buying or sorting pieces
The preview tells you whether the design reads visually. The parts list tells you how many cells use each generated color. Treat both as planning tools. The sum of the color quantities should match the displayed total cell count. Sort available pieces by color, compare them with the list, and resolve substitutions before building.
A cell count is not a promise that every construction detail has been solved. The tool does not choose a backing plate, calculate wall hardware, account for borders, or verify your inventory. Those decisions depend on the physical parts and display method you select.
Common problems and practical fixes
The face or subject is hard to recognize
Move the Crop frame closer to the subject or choose a larger grid. A wide image forced into a small square grid gives the subject too few cells.
The pattern is too dark or too light
Return brightness toward 100%, then adjust in 5% steps. Generate after each change and compare the subject outline as well as the shadow and highlight areas.
Important edges are missing
Choose a higher-contrast source, remove distracting background areas with Crop, or increase the grid dimensions. A different palette can change color mapping, but it cannot restore detail that has too few cells.
The downloaded image is difficult to follow
Select HD for a larger on-screen PNG, or use Print with a chosen width and DPI. You can also use a custom pixel width up to 8,000 pixels. Preview the browser print result before saving the PDF.
The recent project is not available on another device
Recent records stay in browser storage on the device where they were created. They are not synced through an account. Download the PNG or save the printed guide as a PDF when you need a durable copy.
Frequently asked questions
Can I create a mosaic pattern from any photo?
You can use a JPEG, PNG, or WEBP image that passes the tool's size limits. Clear subjects and strong shapes produce more readable patterns than images filled with tiny details.
How do I know how many pieces the pattern needs?
After generation, the result shows the total cell count and a parts list with the quantity assigned to each generated color. Grid width multiplied by grid height gives the complete cell total.
Should I use Crop or Fit?
Use Crop to give the main subject more of the grid. Use Fit when preserving the entire frame is more important, accepting that white space may be added when aspect ratios differ.
Which grid size should I choose first?
For a square portrait, 48 x 48 is a practical starting preset. Test a smaller grid for simple symbols and a larger grid when important detail disappears.
Are uploaded photos sent to an online account?
No account is required for the mosaic workflow, and image conversion happens locally in the browser. Recent records remain in that browser, so export finished patterns you want to keep.
Can I save the pattern as a PDF?
Yes. Use Print / Save PDF and choose the PDF option provided by your browser's print dialog. You can also download a PNG using Web, HD, Print, or custom export dimensions.
Final buildability checklist
- The subject is recognizable at normal preview size.
- The chosen grid shape matches the source composition.
- The displayed cell total is suitable for the planned physical size.
- The color parts list has been compared with the pieces you can obtain.
- The PNG or PDF guide has been saved outside browser history.
- The base, border, mounting method, and real part dimensions have been confirmed separately.
Once those checks pass, the result is more than a pixelated image: it is a practical grid and color plan you can follow one row or section at a time.