How to Use a LEGO Mosaic Maker: Turn a Photo Into a Buildable Pattern
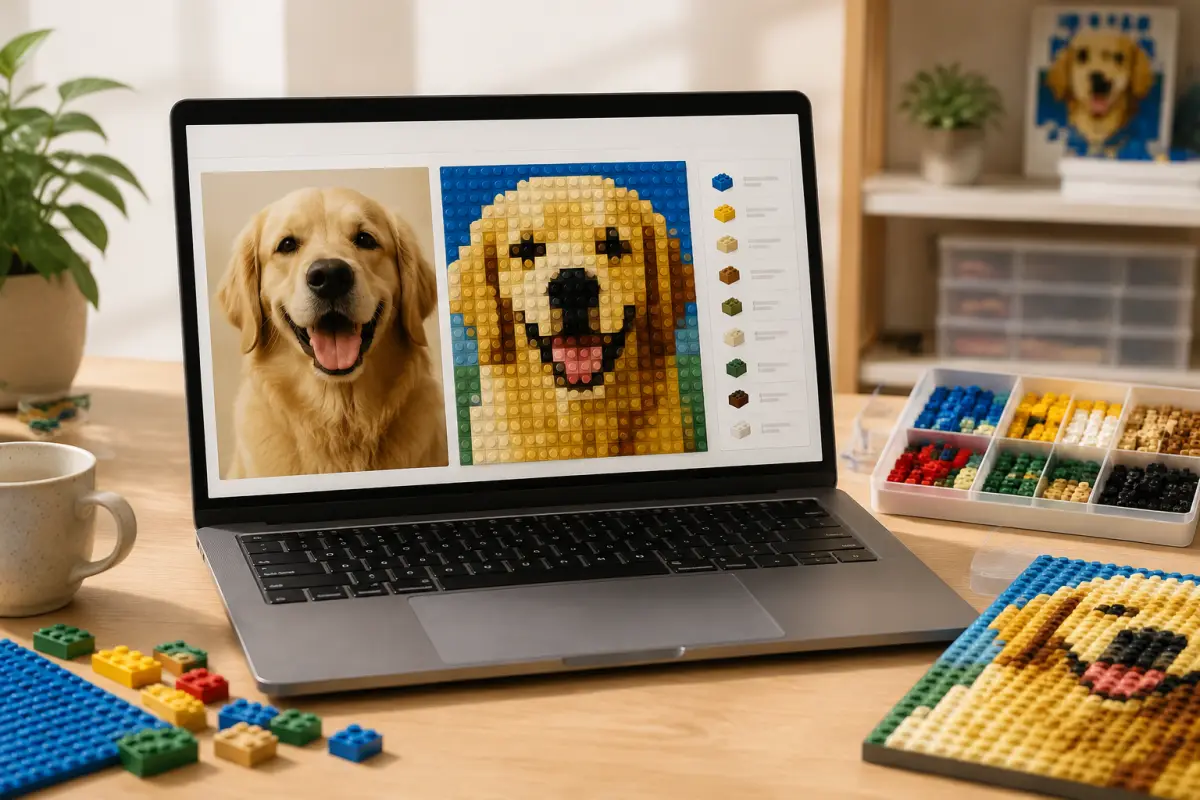
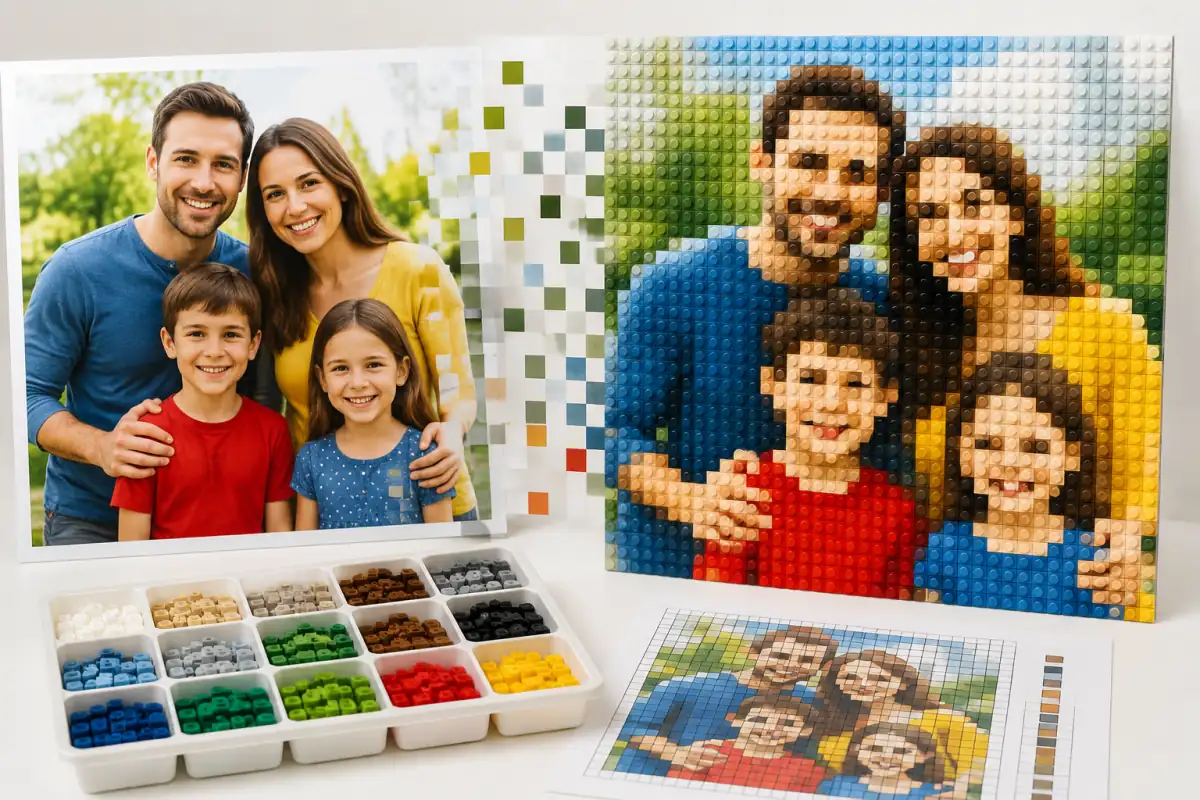
A LEGO mosaic maker converts a photo into a grid-based brick pattern that you can review, download, and build with LEGO-compatible bricks. With Brick Mosaic Maker, upload a photo, choose the placement and pattern size, adjust the palette and brightness, generate the preview, then use the PNG, printable guide, and color parts list to plan the build.
Brick Mosaic Maker is an independent tool and is not affiliated with, endorsed by, or sponsored by the LEGO Group.
Quick Answer
- Start with a clear photo that has one main subject and useful contrast.
- Upload a JPG, PNG, or WEBP image up to 20 MB.
- Choose a preset pattern size or enter a custom width and height from 8 to 128 cells.
- Use Crop when the subject matters most, or Fit whole image when every edge should remain visible.
- Review the palette, brightness, preview, and color parts list before building.
- Download a PNG for screen viewing or use Print / Save PDF for a physical guide.
What Is a LEGO Mosaic Maker?
A LEGO mosaic maker simplifies a photo into a grid of color cells. Each cell represents one position in the finished mosaic. When compatible building pieces follow the pattern, the collection of cells recreates the main shapes, contrast, and colors of the source image.
A mosaic pattern is the generated grid. Grid size means its width and height, such as 48 x 48. A stud is a raised connection point. A tile usually has a smooth top, a plate is a thin building piece, and a baseplate is a larger foundation. The tool creates the visual pattern and color quantities; your piece types and mounting method depend on the project.
Brick Mosaic Maker runs in the browser. The homepage states that conversion happens locally, so the source photo stays on the current device during generation. Download finished patterns that you want to keep because browser storage is not a cloud backup.
What You Need Before You Start
- A photo with a clear subject, such as a portrait, pet, logo, artwork, building, or landscape.
- An approximate idea of the finished pattern size and the building time you can manage.
- Compatible building bricks, plates, or tiles in colors close to the selected palette.
- A base or mounting surface if the finished mosaic needs a permanent structure.
- A tablet, laptop, or printed guide for viewing the pattern while you build.
You can make construction decisions after reviewing a preview. Generate a small version first, check recognition and contrast, then plan the physical pieces around the version you prefer.
How to Use Brick Mosaic Maker Step by Step
Step 1: Choose a Suitable Photo
The best source image has one clear subject, visible light and dark areas, and a background that does not compete with the main shape. Good lighting and strong edges help the pattern remain recognizable after the photo is reduced to a grid.
Portraits, pets, logos, buildings, and bold illustrations are useful starting points. A dark, blurry, or crowded photo may lose small details. Crop closer to the subject when it matters most, or keep more of the original composition when the entire scene should remain visible.
Step 2: Upload the Photo
Open Brick Mosaic Maker and drop a file into the upload area or choose one from your device. The tool accepts JPG, PNG, and WEBP images up to 20 MB. After loading, the editor displays a preview and enables the mosaic controls.
Conversion runs locally in the browser, and the source image is not sent to the Brick Mosaic Maker server during conversion. On a shared device, download the finished guide and clear local records when they are no longer needed.
Step 3: Choose the Pattern Size
Pattern size is the number of cells across and down the mosaic. Presets include 16 x 16, 48 x 48, 64 x 64, 96 x 96, 64 x 48 landscape, and 48 x 64 portrait. Custom size accepts a width and height between 8 and 128 cells.
| Grid size | General result | Best for |
|---|---|---|
| Smaller | Simpler image with fewer details | Icons, symbols, quick tests, and bold portraits |
| Medium | Balance between detail and effort | Many personal photos and first projects |
| Larger | More detail and a larger project | Detailed portraits, artwork, and distant viewing |
A 48 x 48 pattern contains 2,304 cells, which makes the scale easy to understand before choosing pieces. Larger grids may show more detail but increase sorting and building time.
Step 4: Choose Crop or Fit
Choose Crop when the subject should fill the grid. Drag the image and adjust the crop zoom so the face, logo, or main object receives the most space. Use the Reset to center control to return the crop position to its starting point.
Choose Fit whole image when every part of the source photo should remain visible. Fit preserves the complete image inside the grid and can add empty space when the photo and grid use different proportions.
Step 5: Review the Color Palette and Brightness
The tool provides Classic brick colors, Soft colors, and Grayscale palettes. Classic colors create a familiar high-contrast brick appearance. Soft colors create a gentler illustration, while Grayscale emphasizes shape and light.
Brightness changes how light and dark areas map to the selected palette. If the preview looks too dark, washed out, or flat, make a small adjustment and compare it again. Similar source colors may merge, while small bright or dark details may disappear at a smaller grid size.
The color parts list shows the quantities represented by the generated pattern. Use it as a planning list for the selected version. Actual purchasing can vary because piece sizes, plate layouts, tiles, and mounting methods differ.
Step 6: Generate and Review the Mosaic
Generate the mosaic after choosing the photo, size, placement, palette, and brightness. Check the preview from the distance at which the finished mosaic will be viewed:
- Is the main subject recognizable?
- Are important edges clear?
- Do light and dark areas have enough contrast?
- Does the background distract from the subject?
- Did an important small feature disappear?
If the image is difficult to read, try a closer crop, a larger grid, another palette, or a small brightness adjustment. Generate a few versions before committing to a physical build.
Step 7: Download the Building Guide
Select Download PNG after reviewing the pattern. Export options include Web for a lightweight reference, HD for a sharper screen view, Print for a physical-width and DPI-based file, and Custom pixels when another application needs a specific width.
HD works well when you zoom on a tablet or laptop while placing one row or section. Web is convenient for quick sharing. Custom pixels can help when the pattern must fit another planning workflow.
Step 8: Print or Save a PDF
Select Print / Save PDF to open the browser print dialog. You can print the pattern or save it as a PDF. Review the grid and color blocks before building so the guide remains readable at the chosen size.
For a large mosaic, keep the HD PNG on screen or use a multi-page printout. Label the guide, sort pieces by color, and work row by row or in small sections. Check orientation and spacing regularly.
Photo Types and Common Challenges
| Photo type | Usually works well when | Common challenge |
|---|---|---|
| Portrait | The face has clear lighting and contrast | Small facial details may disappear |
| Pet photo | The subject is separated from the background | Fur can become visually noisy |
| Logo or icon | The design uses bold shapes and clear colors | Thin lines may be lost |
| Landscape | The image has strong light and dark areas | Fine background details may merge |
| Group photo | People are close together and well lit | Individual faces may become too small |
Example: Turning One Photo Into a Brick Mosaic
Imagine starting with a well-lit portrait and choosing the 48 x 48 preset. Upload the image, select Crop, position the face, and generate a first preview. The goal is to decide whether the face, clothing, and background still separate clearly before buying or sorting pieces.
Compare Classic brick colors with Soft colors and Grayscale. If the face loses contrast, try a modest brightness change or a closer crop. If the result is too simple, test a larger grid. When one version gives the clearest subject, download the PNG, review the color quantities, and plan compatible pieces and the mounting surface.
The original photo and final pattern will not look identical. Judge the result by recognizable shapes, useful contrast, and a build plan that you can realistically follow.
Common Problems and Fixes
| Problem | Likely cause | Recommended fix |
|---|---|---|
| The mosaic looks blurry | The source lacks sharp edges or the grid is too small | Use a clearer photo, crop closer, or test a larger grid |
| The subject is difficult to recognize | Low contrast or too much background | Adjust brightness, choose another palette, or crop around the subject |
| Colors look too similar | Source areas map to nearby palette colors | Compare Classic, Soft, and Grayscale previews |
| The background takes attention | Large high-contrast background shapes | Use Crop to give more space to the main subject |
| Small details disappear | The grid cannot represent them clearly | Increase the grid or simplify the composition |
| The project is too large | The grid has more cells than the project can support | Test a smaller preset and review the parts quantities |
| The guide is hard to follow | The build session is not organized | Sort colors first and complete one row or section at a time |
FAQ
Can I use any photo with a LEGO mosaic maker?
You can use JPG, PNG, and WEBP images up to 20 MB, but not every photo produces a clear pattern. A distinct subject, good lighting, and useful contrast usually work better. A crowded or blurry image may need a closer crop, a different palette, or a larger grid.
What type of photo works best for a brick mosaic?
A clear portrait, pet photo, logo, icon, or artwork with strong edges is a practical starting point. Keep the subject separate from the background. If people or objects are small in the source image, the grid may not preserve individual details.
What grid size should a beginner choose?
A 16 x 16 grid is useful for a quick test, while 48 x 48 balances detail and building effort for many portraits and personal photos. Larger options such as 64 x 64 and 96 x 96 can preserve more detail but create a larger project.
Can I use LEGO-compatible bricks?
Yes. Use the generated pattern as a visual guide with compatible bricks, plates, or tiles. Brick Mosaic Maker is an independent tool and is not affiliated with, endorsed by, or sponsored by the LEGO Group. Confirm dimensions, piece types, colors, and mounting method for your project.
Will the final mosaic look exactly like the original photo?
No. A brick mosaic is a simplified version of the image. Grid, crop, palette, brightness, viewing distance, and available piece colors affect the result. Use the preview to check recognition before sorting or buying pieces.
Do I need a baseplate to build a brick mosaic?
Not every project uses the same foundation. A baseplate may suit a freestanding layout, while another project may use plates, a frame, or a different mounting surface. The tool provides the pattern and color quantities, so choose the construction method that fits your materials.
Create Your Own Brick Mosaic
Open Brick Mosaic Maker, upload a photo, test the crop and pattern size, then compare the palette options before downloading a guide. A short preview step can make the final brick mosaic easier to build and easier to recognize.